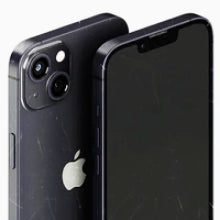
Every device incorporates one or more ways to take screenshots. Here is a quick and simple guide to taking screenshots with any device.
Screenshots on an iPhone
- Press the side button (AKA power button) and the volume-up button simultaneously. (Note: if you have an older iPhone that has a Home button, you need to press the side button and the Home button instead.)
- You’ll get a thumbnail image of your screenshot in the lower left corner.
- When you’re finished, tap “Done” in the upper left corner. You can save the image to Photos, to Files, or delete it.
Screenshots on an Android phone (Samsung, Google, etc.)
Hold down the power button and press the volume-down button at the same time. This will save a screenshot to your photos app. It may be in a dedicated Screenshots folder.
Screenshots on a Windows PC (Microsoft computer)
Hit the Windows logo key in the bottom left corner of the keyboard + Shift + S, which will bring up a Windows app called “Snip & Sketch.” (The app is also accessible from your Windows app menu.) Your cursor will turn into a plus sign, and you’ll get a small toolbar at the top of the screen that lets you select a rectangular clip, a freeform clip, or just take a shot of the entire screen. The clip (or “snip,” as Windows calls it) will be saved to the clipboard and a thumbnail will appear in the lower right corner of your screen. Click on that to save it (as a PNG or JPG file), and share it.


